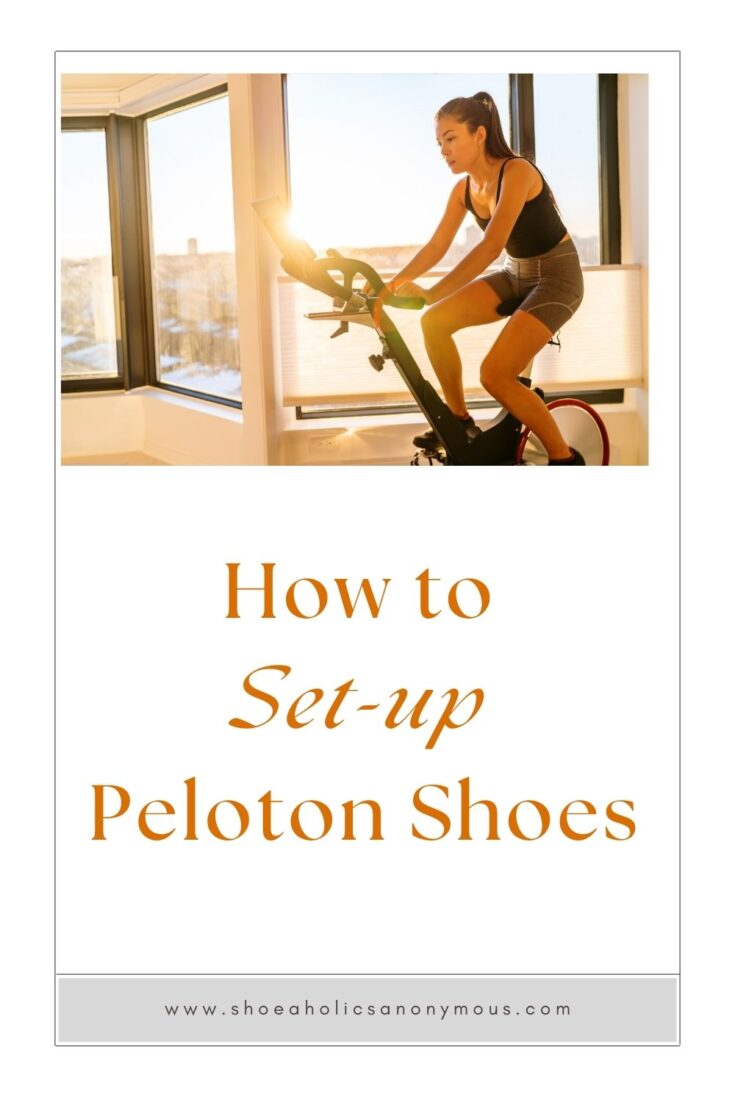
If you’re wondering how to set up peloton shoes, you’re in luck! This guide covers everything you’ll need to know so that you can clip in and get riding.
So, you’ve decided to bring your favorite cycling classes home and have a Peloton Bike already on the way – how exciting! Or maybe you are looking into buying one, but you are a little apprehensive because one of your lingering questions is, how exactly do the shoes work?
It is important to note that you do need special shoes to ride a Peloton, just as you would typically clip in for your spin class.
This guide contains everything you need to get started with your Peloton shoes or another shoe of choice (but more on that later).
The below steps might look overwhelming at first, but rest assured it’s not too tricky to learn how to set up peloton shoes – it just helps to have all the right information!
In This Post
How Do You Set up Peloton Shoes?
Step 1: Mount the Cleats
Peloton shoes, along with most other brands, do not come with the cleats mounted, so this is the first step to follow before you can put the shoes on.
At the bottom of your shoes, there are three cleat plate screw holes. Position your cleats so that they face forward and align with the holes.
Set the washers on each of the holes, then place one screw into each screw hole.
The line at the heel of the cleat should line up with the toe, and the cleat should be as close to the inside of the shoe (near the arch) as possible.
Step 2: Tighten the Screws
Using an Allen key or the 4-millimeter hex key that came with your bike, twist each screw inward slightly before tightening them.
Securely attach the cleats to your shoes by tightening the screws. You will know once they are tight enough because you will have some resistance.
You want to ensure your cleats are on tight to prevent any unclipping.
Step 3: Loosen the Buckles
If the buckle closure system on each shoe is locked, you will need to loosen the buckle first. By pressing the button on the buckle, it will snap it open. From there, you can loosen the strap, ideally just to the point where you can put it on comfortably with a lot of force or strain.
Step 4: Put on Your Shoes
As with most shoes, it’s usually best to be patient rather than trying to rush and lose your balance; but it’s especially helpful to take your time on the first run with your Peloton shoes, so go ahead and take a seat first.
Once you have your cycling socks on, slide your feet into the shoes. Your whole foot should settle evenly across the insole of your shoe.
You want your shoes to be more snug than loose, but not too snug and not too loose – just like a running shoe. You want some room for your toes to wiggle and feel that your arch is supported. If your heels are slipping out the shoe, you should go down a size.
Step 5: Buckle Your Shoes
Once your feet are settled in the shoes, you can go ahead and buckle up. Locate the fastening button of the buckle, click the button, and then tighten up the buckle.
Make sure that your feet are comfortable and not overly tight.
How Do You Unstrap Peloton Shoes?
Setting up your shoes is where most of the process is. Once you are done with your workout, all you have to do is click the button on your buckle and either pull out the strap entirely or pull it out enough to slide your foot out of the shoe.
Just one step is nice, right?
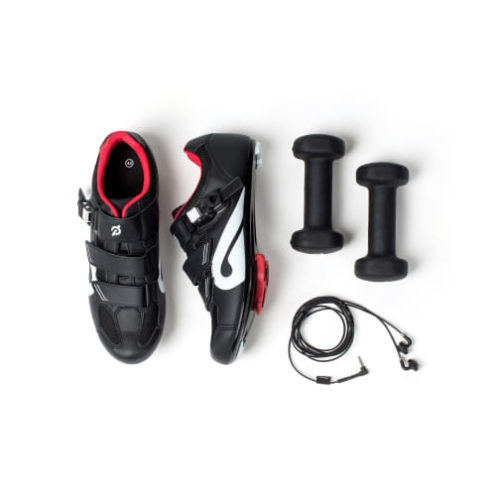
What Shoes Are Compatible? Can I Use My Own?
Peloton pedals are clip-less and only compatible with Look Delta cleats. If you already have your own shoes that you use for spin class, but they have both 2 and 3 mounting holes underneath for cleats, you would need to swap out for Look cleats instead. Peloton cleats only attach to shoes with a 3-screw hole setup.
Alternatively, you can change out the Peloton stock pedals, as most spin classes use SPD pedals. If you decide to attach a different pedal system, note that the Peloton Bike uses a 9/16″ standard pedal connection.
What About Regular Shoes?
You can ride a Peloton with regular sneakers, but it’s a tad risky because you won’t be as secure. You will likely also find it a bit uncomfortable since the bike is not designed for regular shoes.
But suppose this is an absolute must for you. In that case, there is a way to make your riding experience safer and more comfortable by buying a pair of compatible toe cages for Peloton and attaching them onto your pedals.
Is There Any Maintenance Involved?
Check your cleats often to make sure they are on straight, especially if you experience any discomfort in your feet, knees, or legs. The screws will inevitably loosen over time, which will cause your cleats to shift and loosen. You will know when your cleats are loose if you hear noise coming from your cleats or have trouble unclipping them.
If your cleats are loose, all you need to do is straighten out your cleats and tighten the screws securely. Check again that your cleat is aligned correctly before re-tightening. Pedal for a moment and ensure the pressure is on the ball of your foot, which should be directly over the pedal axle. Once you are straightened out again, tighten the screws securely. Whether or not your cleat feels loose or you experience any of the discomfort mentioned above, it is still recommended that you tighten your cleats once a month for a silent ride.
Always ensure your cleats are adequately attached for the smoothest and safest ride possible.
Also, we recommend you have an extra set of cleats on hand so that you never find yourself unable to clip in due to wear.
We hope this article has covered everything you need to know to learn how to set up peloton shoes. The biking may not ever get easier, but we promise that setting up your shoes will!
Find all the details regarding work boots at shoesknowledge.com